Russian grafting photo tutorial

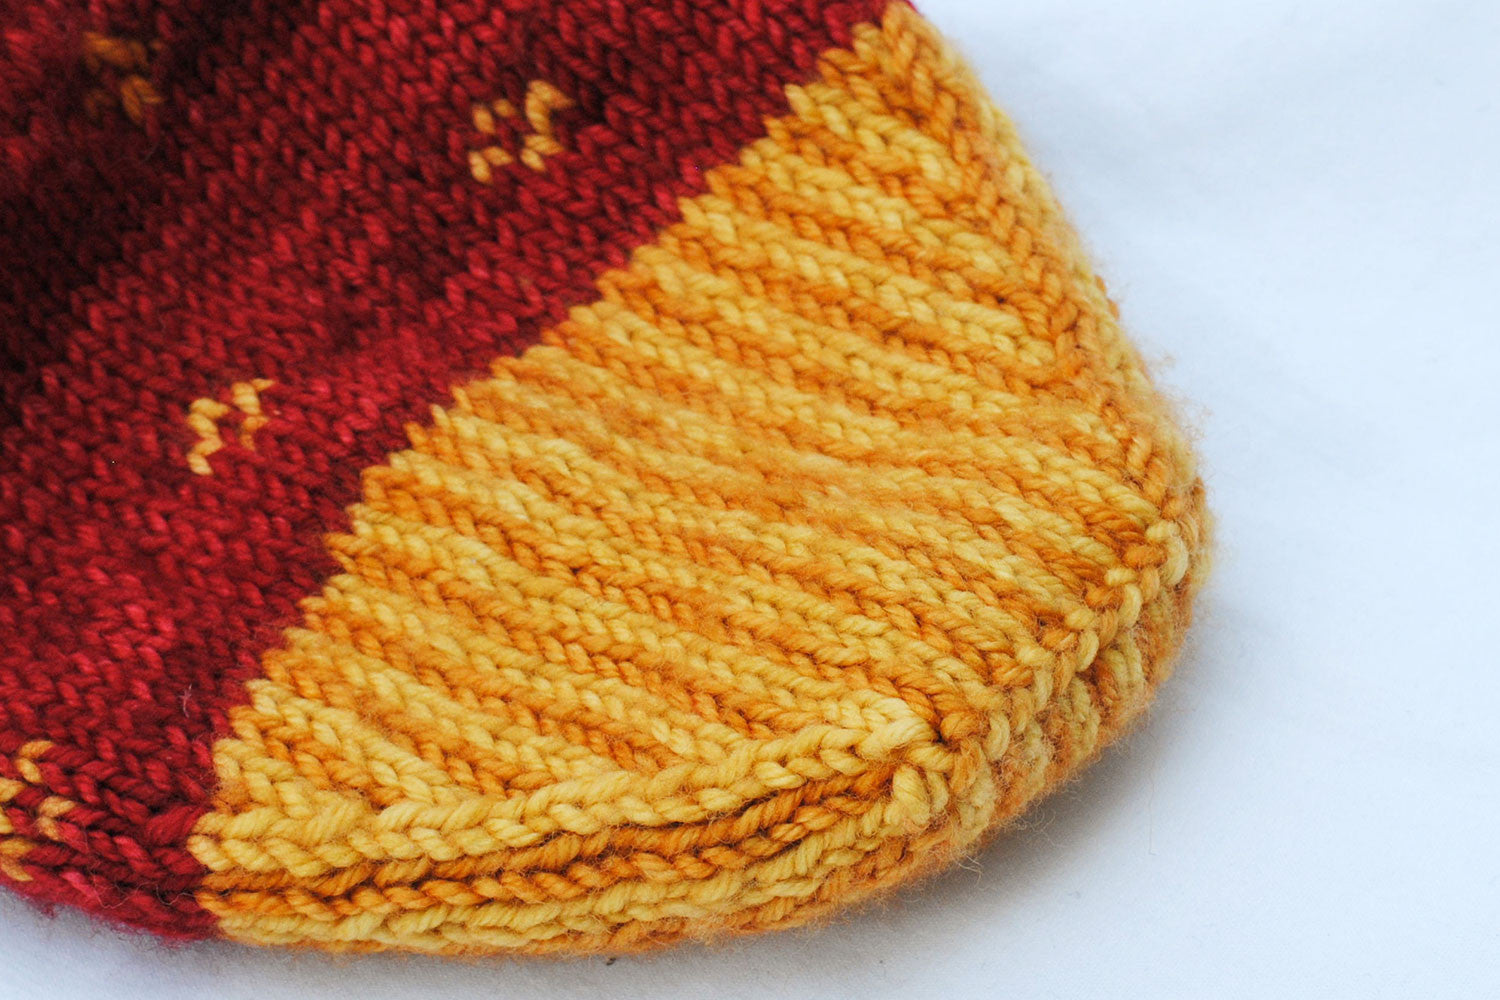
Russian grafting is a method of joining live knitting stitches and is used as an alternative to Kitchener stitch in our Argyle Christmas Stocking pattern. It is a good choice here because the stripes on the toe would not align exactly if you grafted using Kitchener stitch, so the decorative Russian grafting is used instead.
This particular method of Russian grafting uses a crochet hook to join the stitches. Use a crochet hook that is the same size or slightly smaller than your knitting needles. Russian grafting can also be used to join two separate pieces of knitting.
1. Hold both needles in the left hand with one behind the other, with yarn tails at the left side (far end) of the needles

2. Insert the crochet hook through the first stitch on the back needle as if to purl...

and slide it off the needle.

3. Insert the crochet hook through the first stitch on the front needle as if to purl, slide it off the needle...

and pull this stitch through the first stitch on the hook (1 loop will remain on crochet hook).

4. Insert the crochet hook through the first back stitch as if to knit, slide it off the needle and it pull through the stitch on the hook.


5. Insert the crochet hook through the first front stitch as if to knit, slide it off the needle and pull it through the stitch on the hook.

Repeat steps 4 and 5 until all stitches have been grafted.

Pull yarn tail through the last stitch to secure (for the Argyle Christmas Stocking, just use one of the two yarn tails).

Pull yarn tail(s) to inside of toe and weave in ends. Admire your beautiful decorative seam!

6 Réponses
Elizabeth (Sweet Paprika)
I’m so happy you’ve found this tutorial helpful :) Happy grafting!
Maryann
Thank you, thank you! I have struggled to do Kitchener stitch for years. I just tried this technique and it is a game changer for me! Excellent photo tutorial.
Cheryl De Ville
That’s a lovely technique and a very clear tutorial, thank you! It would also be a great solution you ran out of yarn without enough length left do the Kitchener stitch.
I actually love doing the Kitchener stitch, but I love learning new techniques too.
Sheryl
I used this to do sleeve seams on a cardigan rather than having to use the three-needle bind off from the pattern (which would have been a pretty thick underarm seam) or Kitchener (which I deplore). Yours were the clearest instructions I found and the seam came out perfectly, just the way I wanted. I’ll never have to do Kitchener again, thanks to you!
Lisa
Thanks! I used this to finish the top of a hat. Very clear instructions.
Dorothy
Very nice tutorial—thank you!
Laisser un commentaire
Voir l'article entier

Meet the Designer: Nidhi Kansal of knidhiknits


Elizabeth Sullivan
Auteur